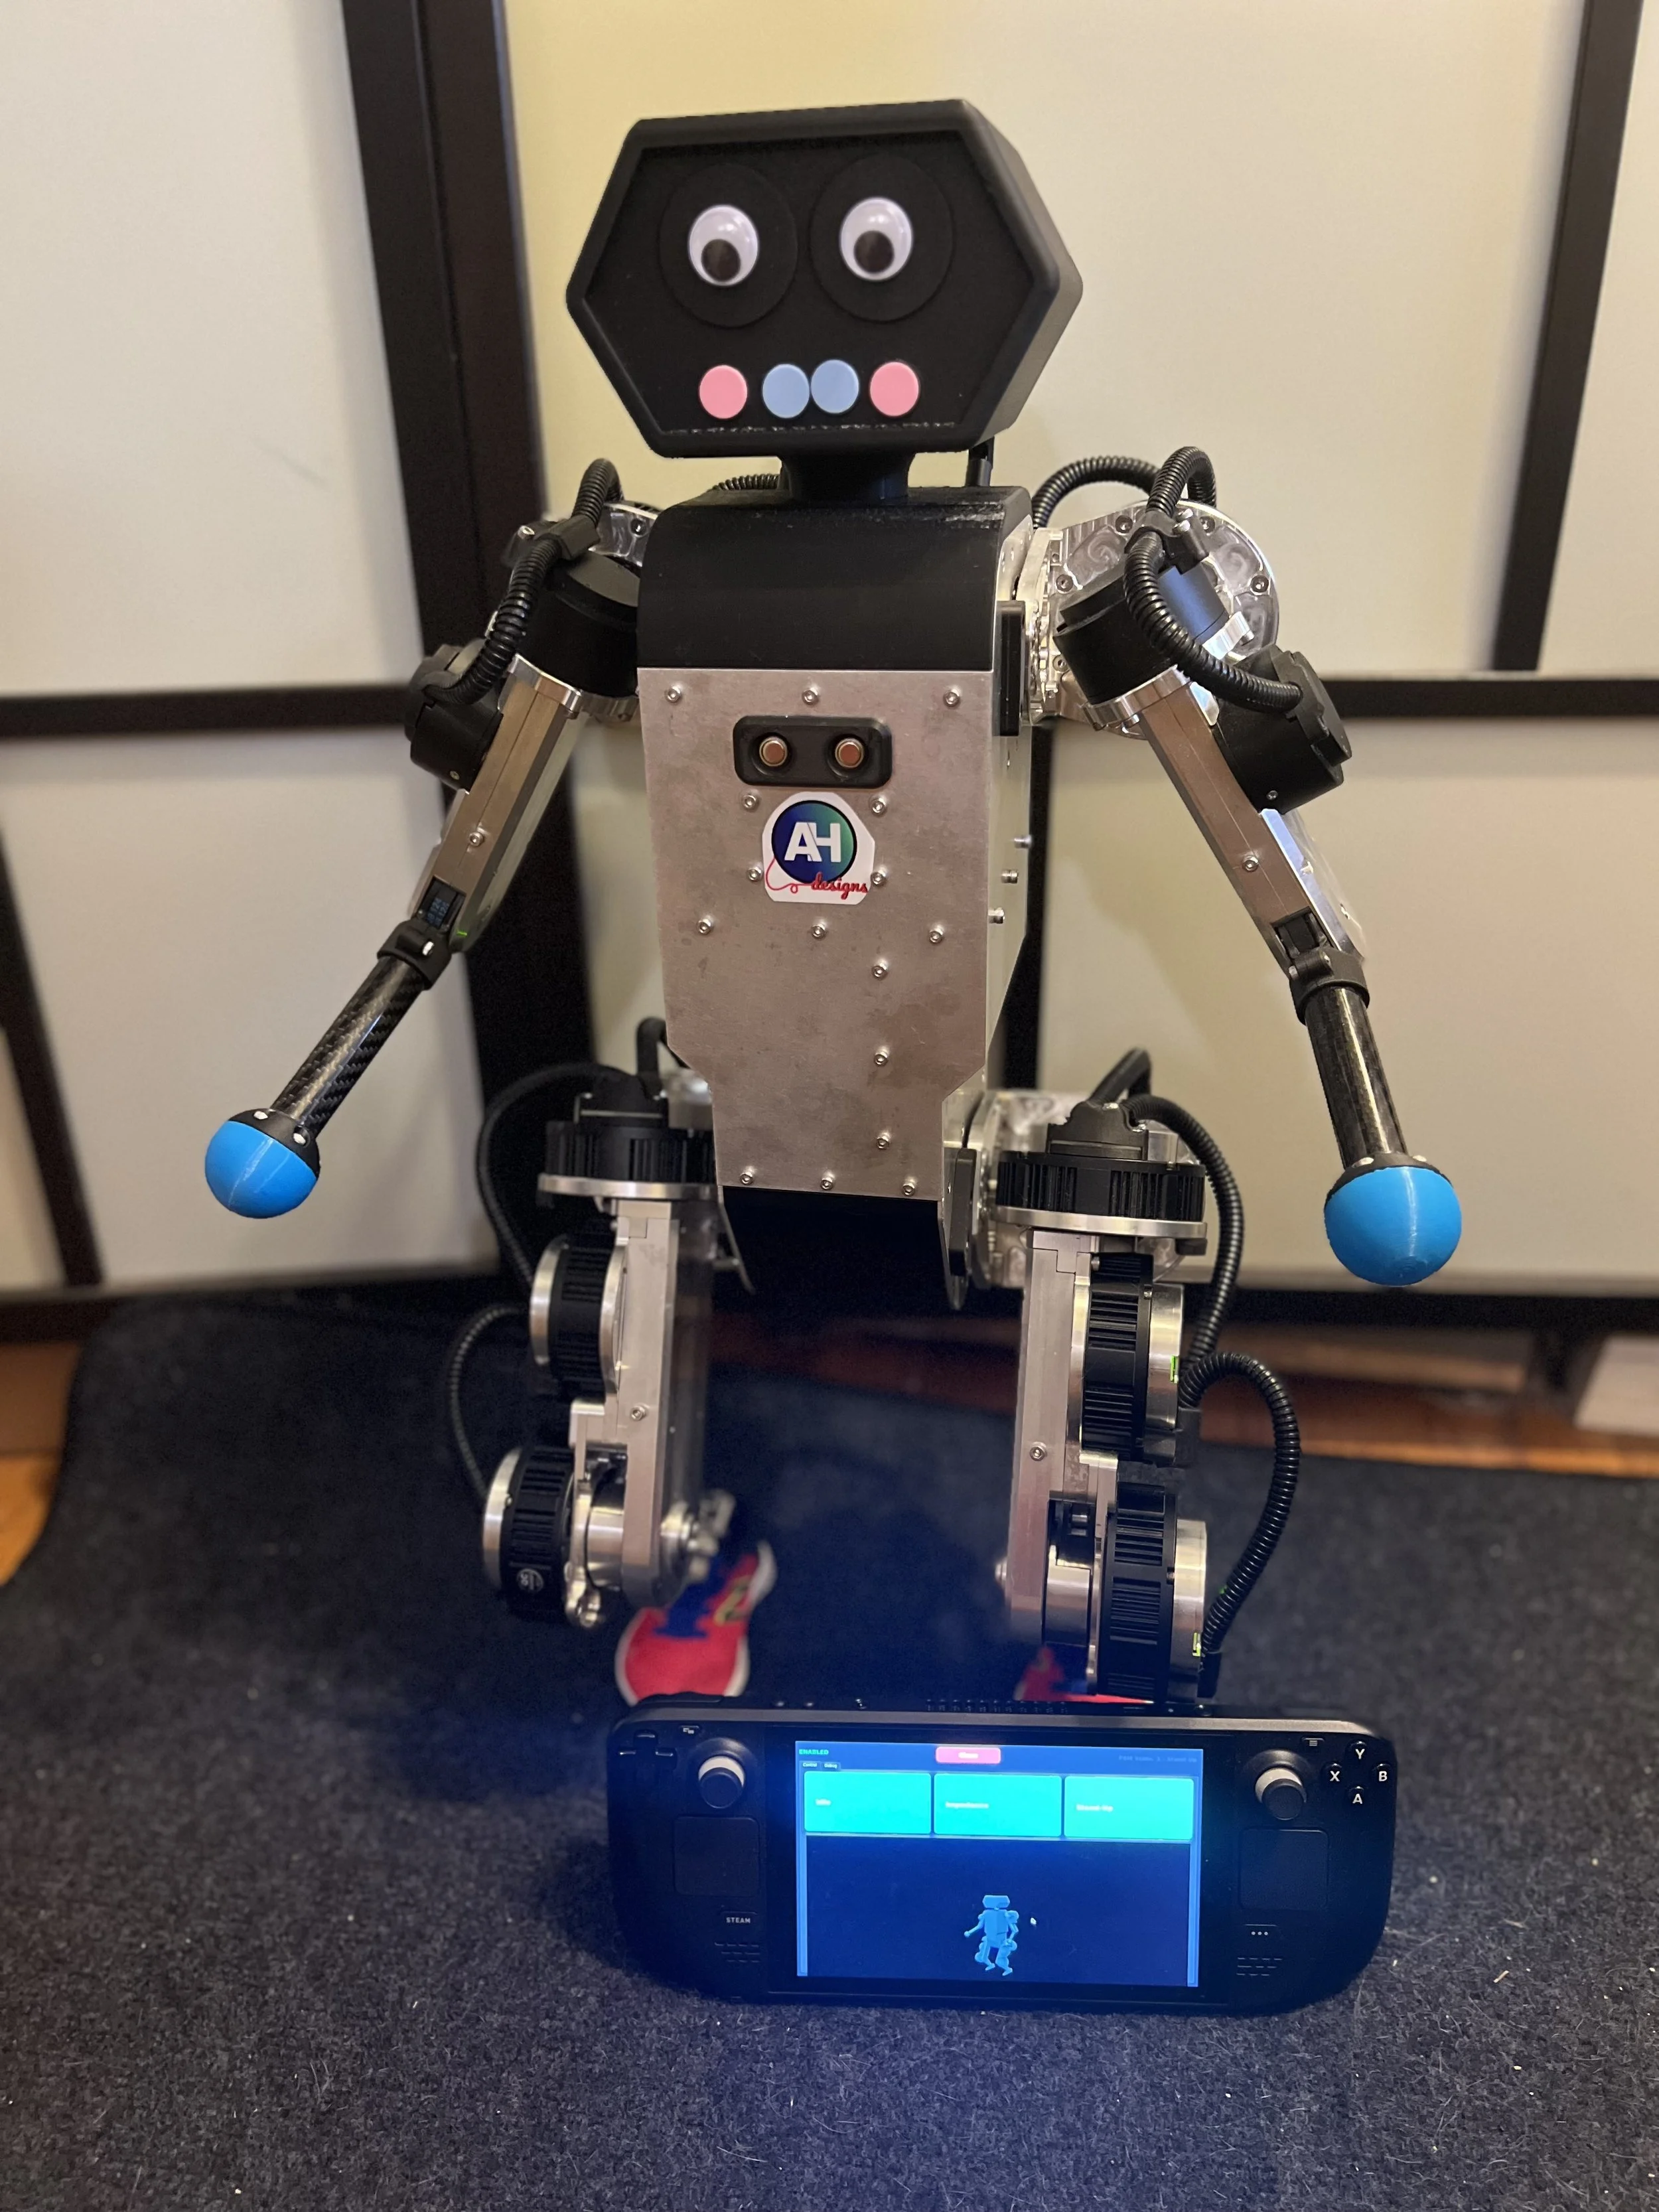
Introducing Goblin (Part 1)
In 2021, I came across the video of Project Kiwi, and ever since, I’ve wanted to build a small humanoid. At the time, I didn’t feel I had the skills to take on such a project on my own, so I focused on other robots, building up my experience over the years.
About two months ago, I decided it was finally time to build my own small humanoid. I felt confident that my hardware and low-level controls were strong enough for a project of this scale, and with so many others finding success using reinforcement learning, it finally seemed like reliable controls were within reach.
Since this would be my first time training an RL policy and deploying it to a real robot—and because this is a hobby project where I often test alone—I prioritized keeping the robot small. That way, it would be both safe and quick to set up for experiments.
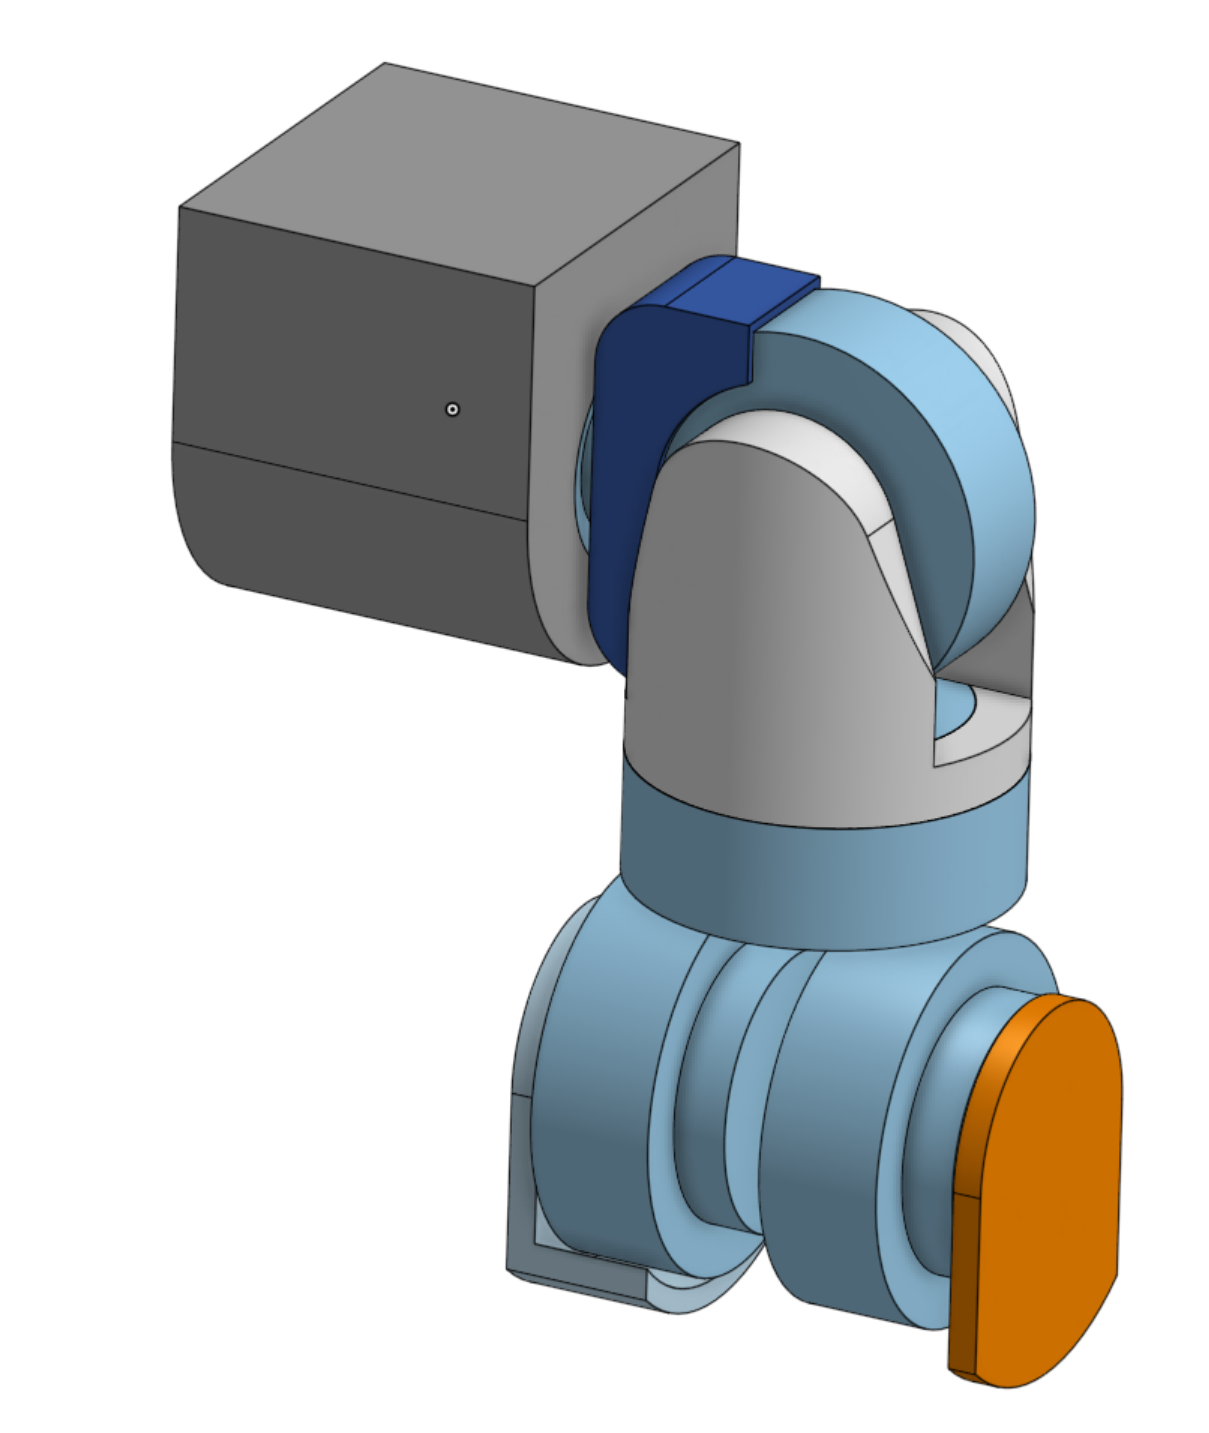
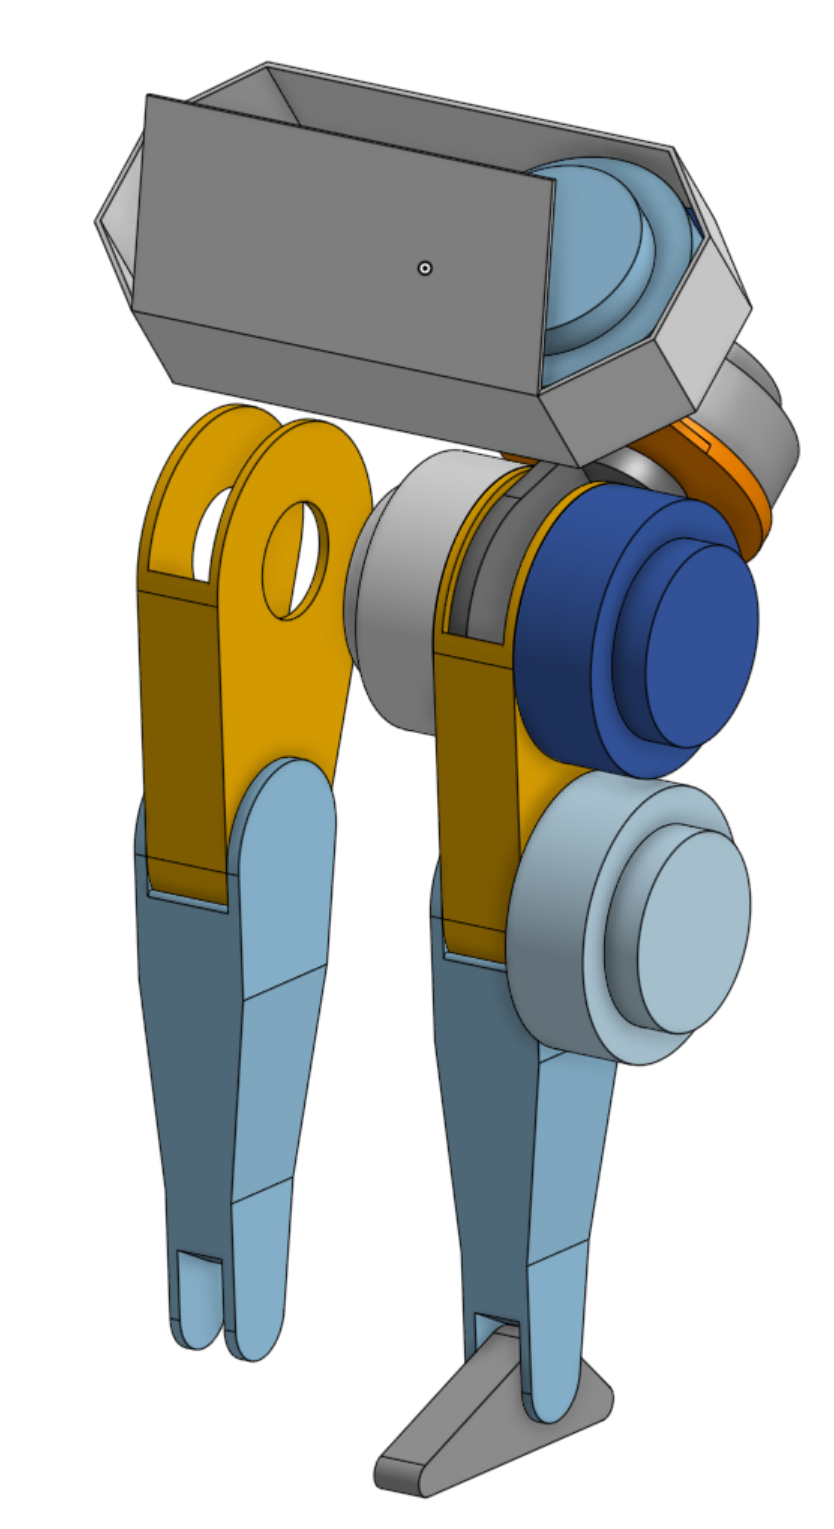
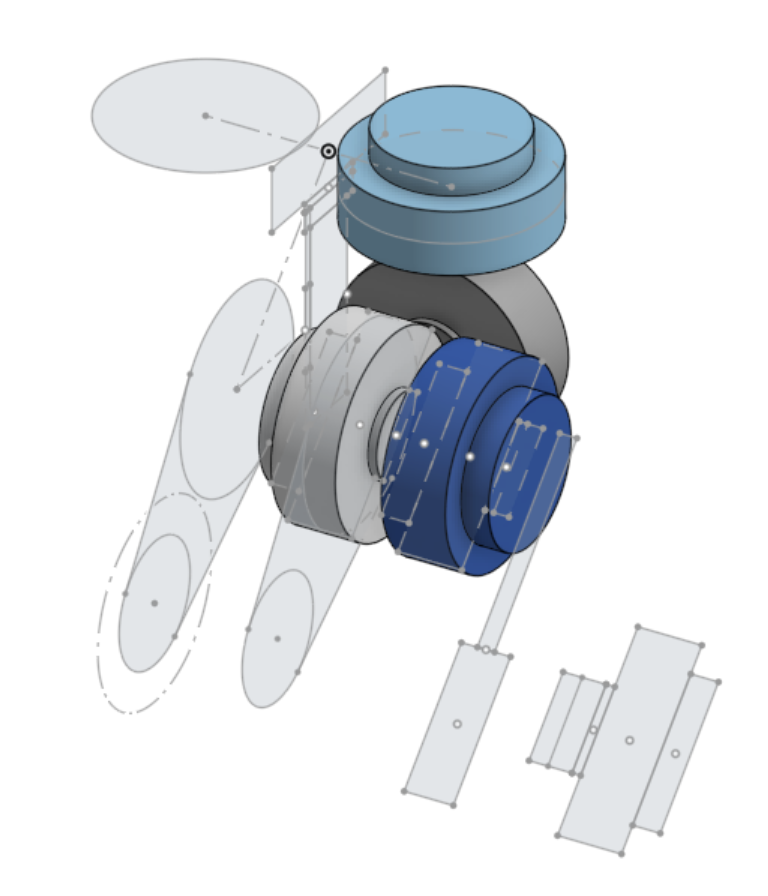
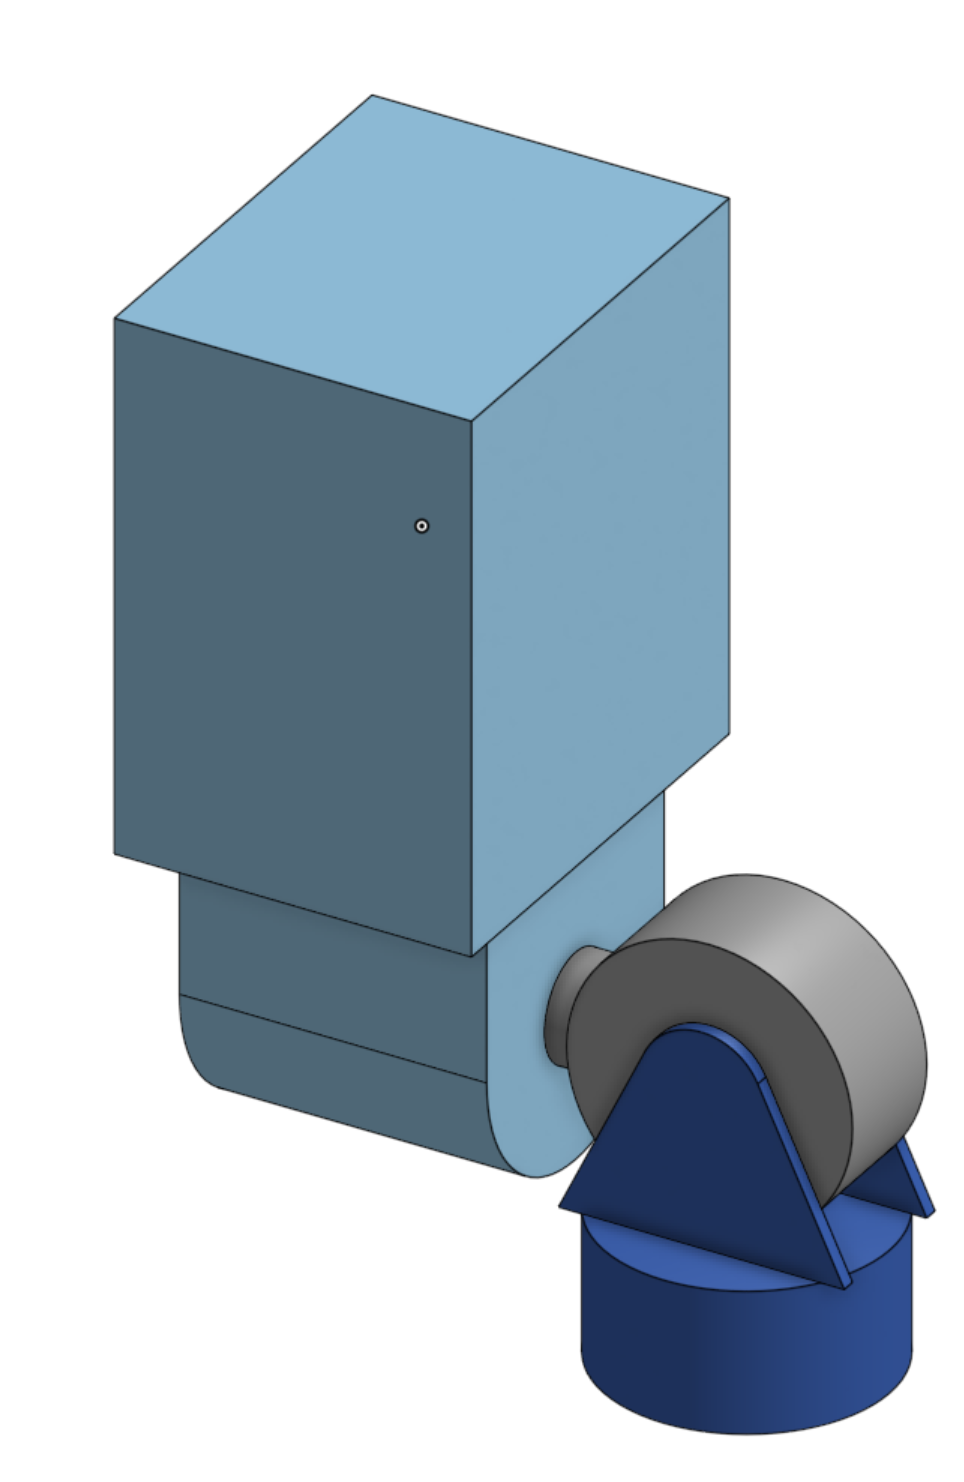
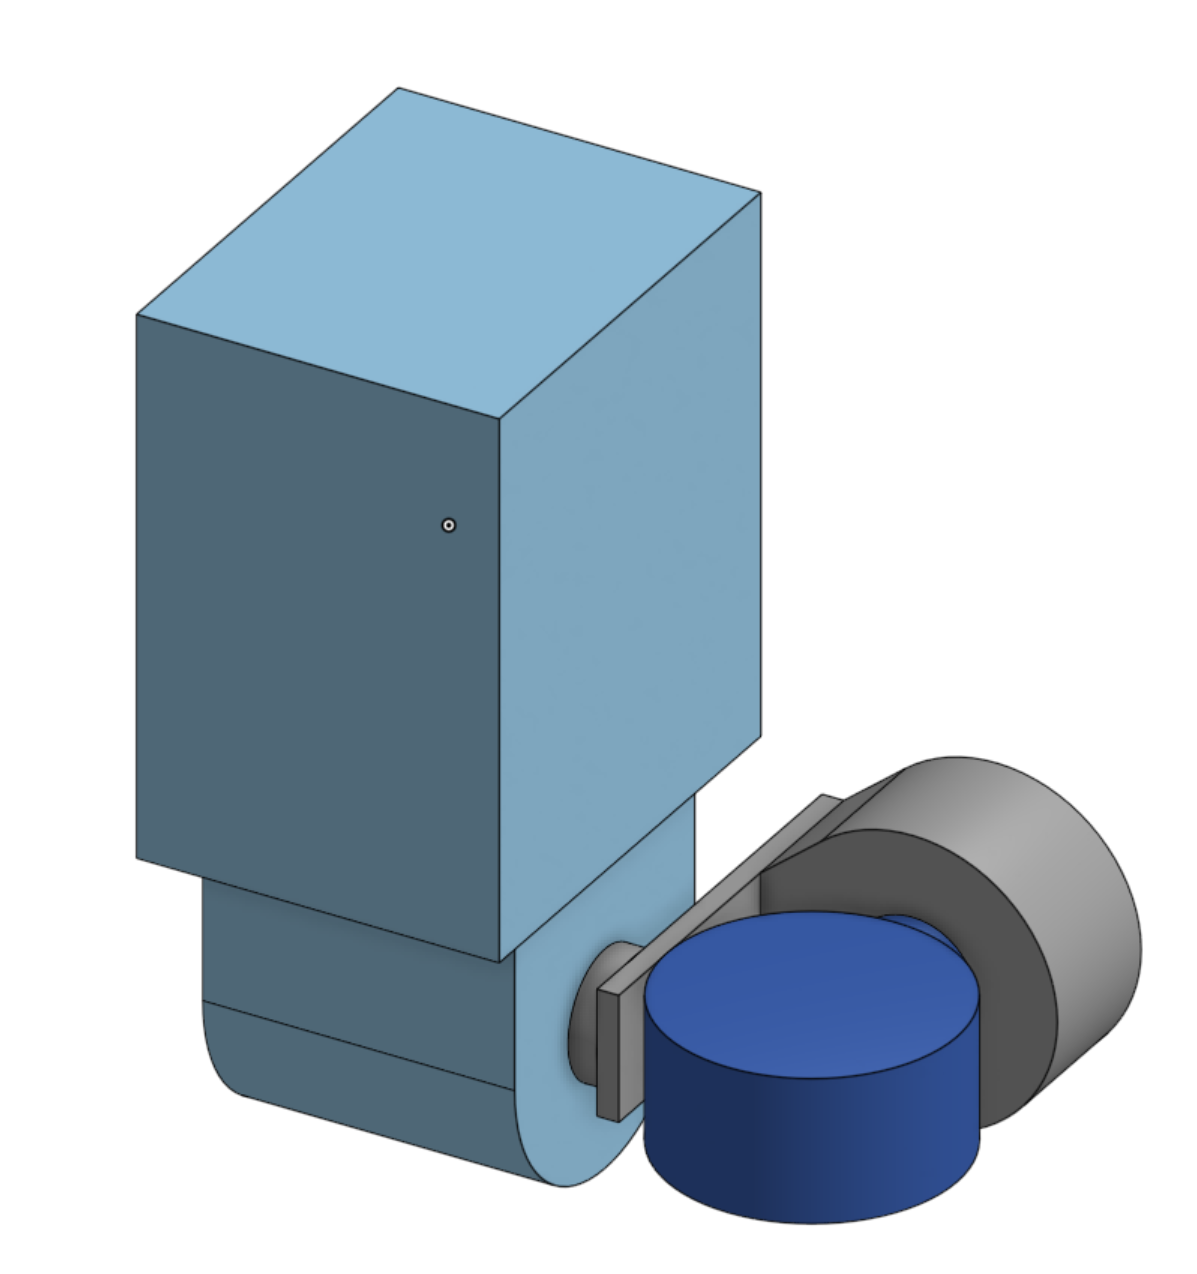
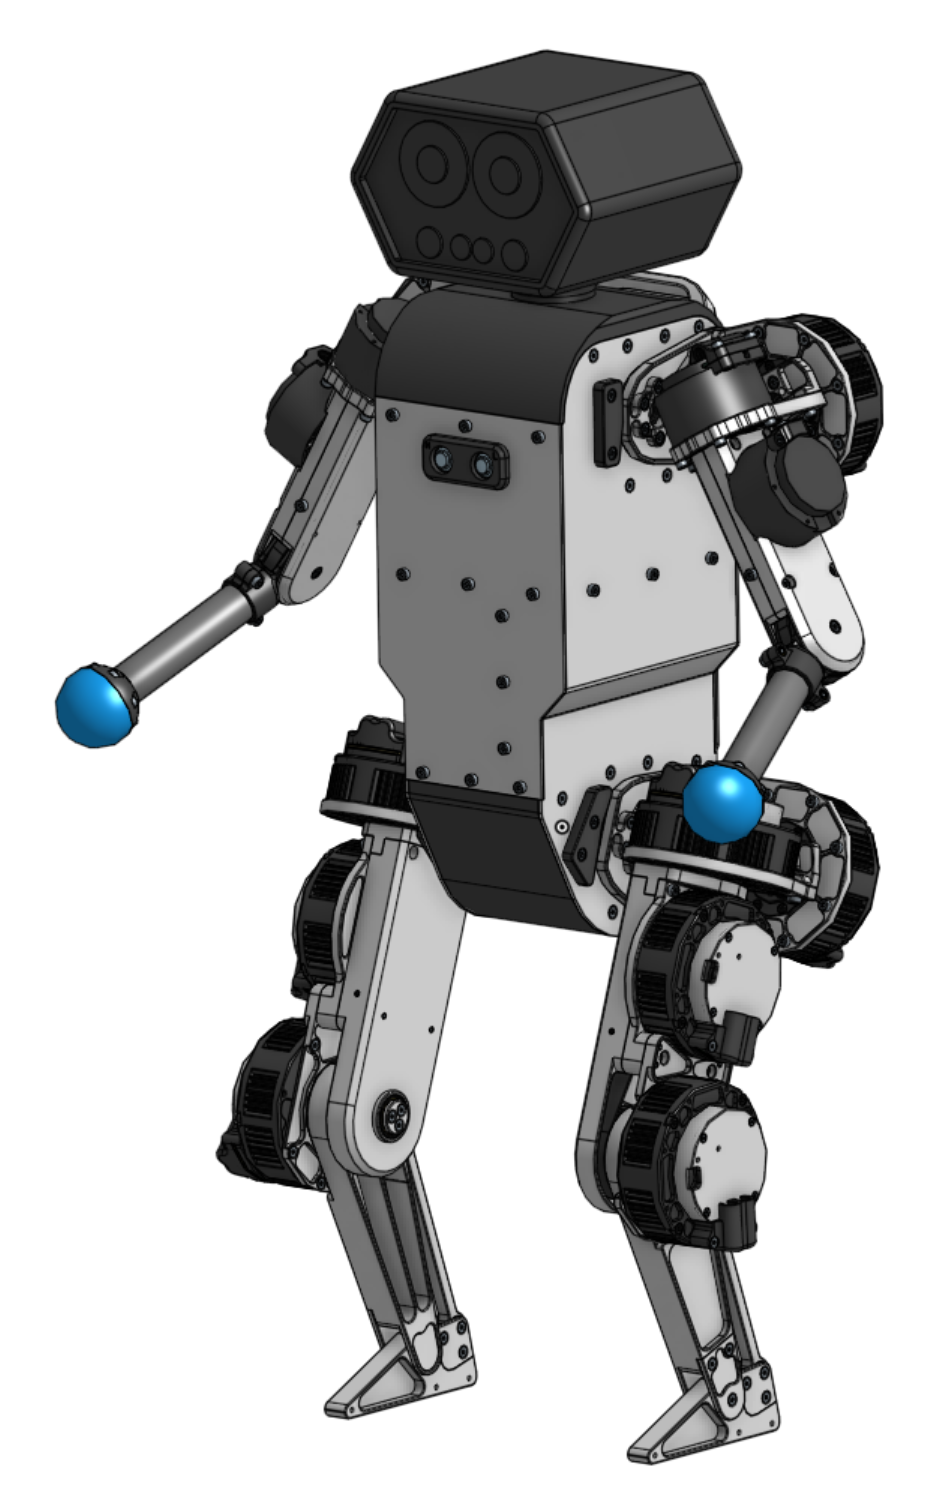
I mocked up a handful of leg layouts before settling on one. I chose a geometry with hip pitch first, which struck a good balance between mechanical simplicity and range of motion, while also offering opportunities to reduce leg inertia.
I designed the robot around the Steadywin 6010 modules because they’re the smallest modules I’ve used that still perform well (at the time I was designing). I had also already designed a motor controller for them (48V, 40A, Mini Cheetah lineage), which made integration straightforward.
I decided to omit ankle roll for this robot, since other humanoids have achieved promising results without it. It keeps leg inertia lower and is one less chunk of complexity.
For the arms, I followed the same design style as the legs but used two 4305 modules—the same ones used in Pupper and Stride Mini—to keep the overall robot mass low.
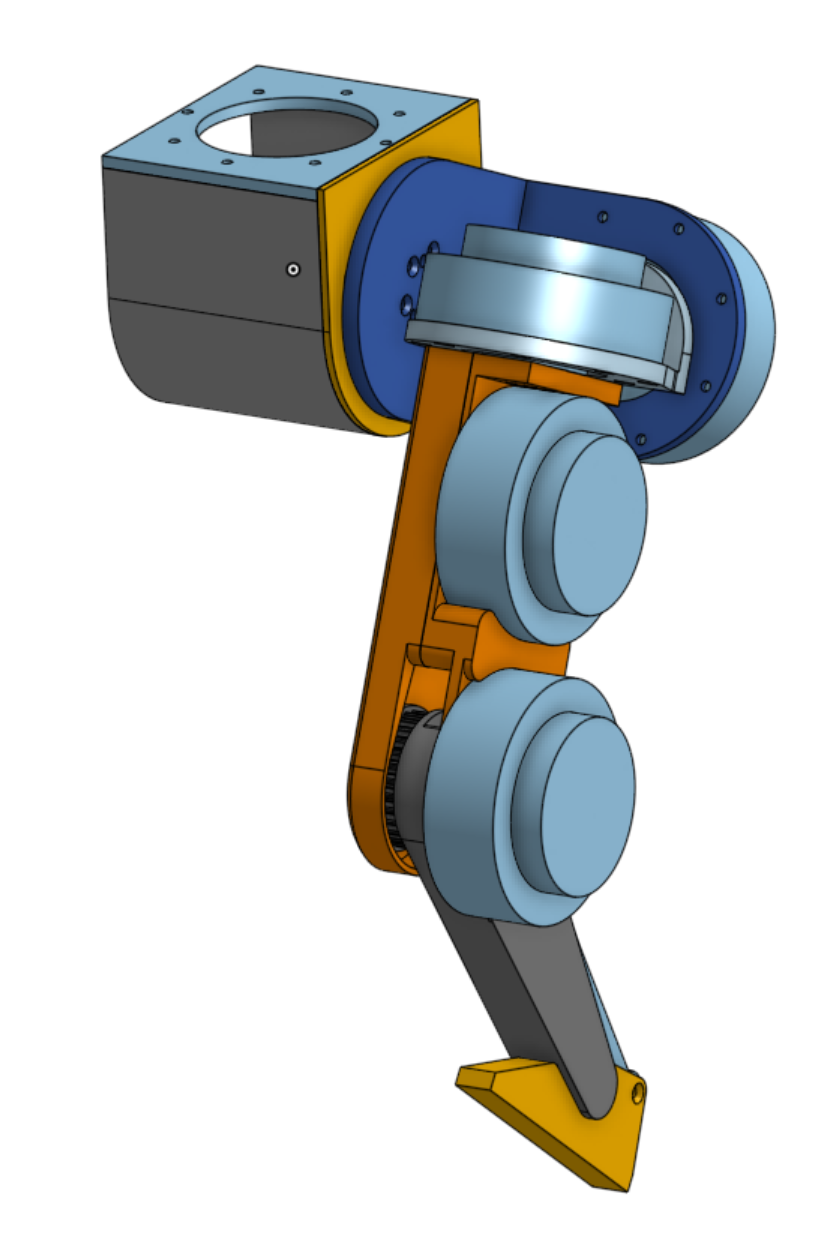
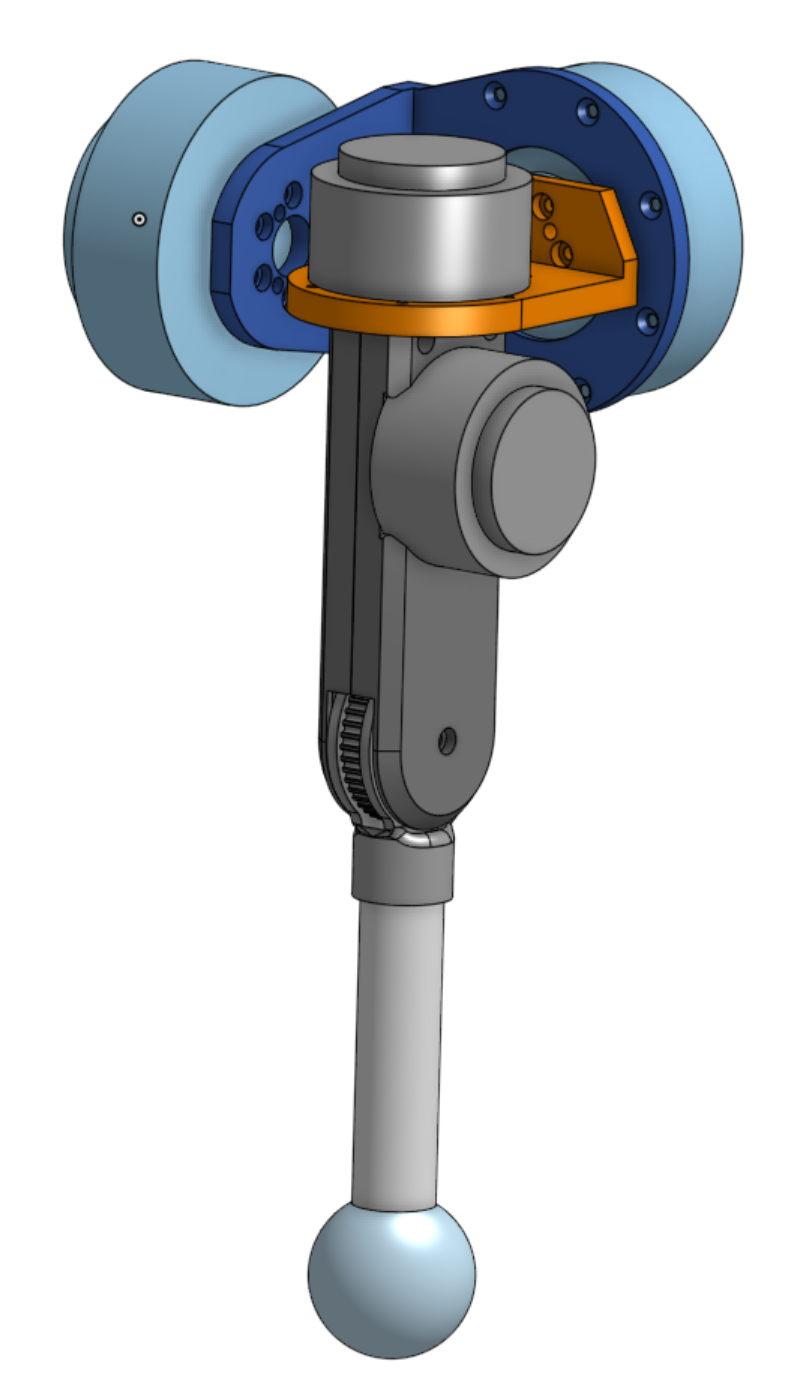
The final design (derived directly from the Block CAD above)
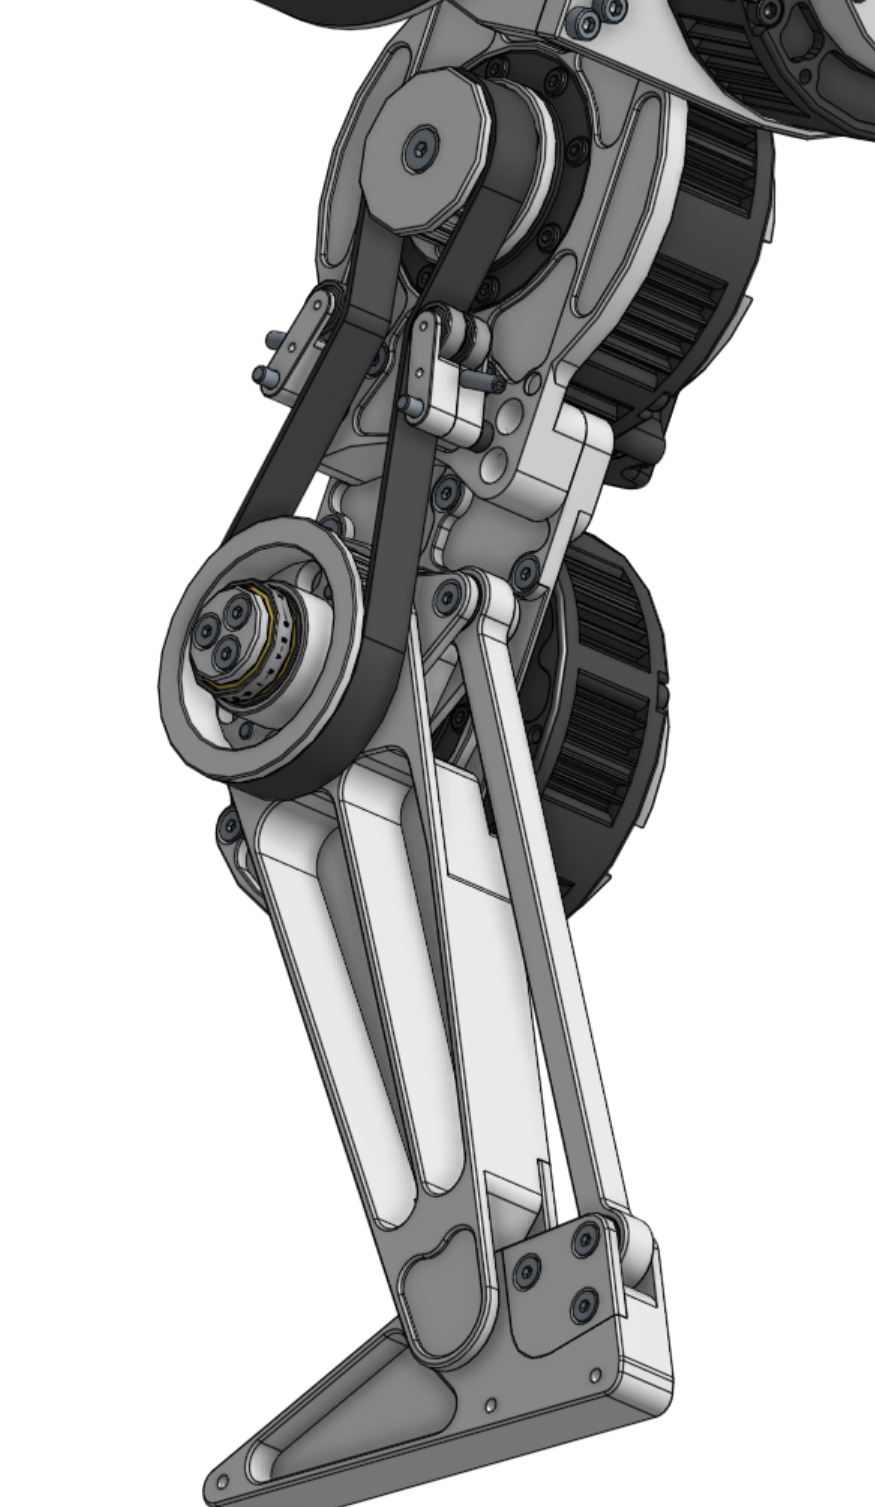
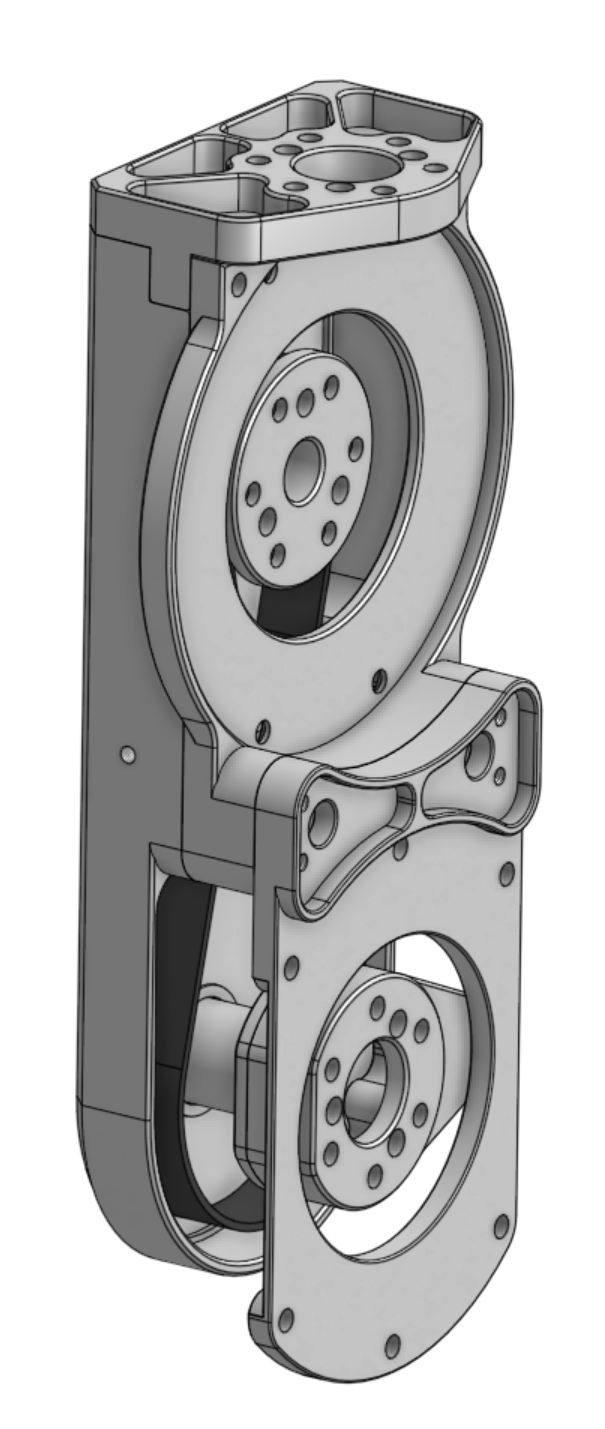
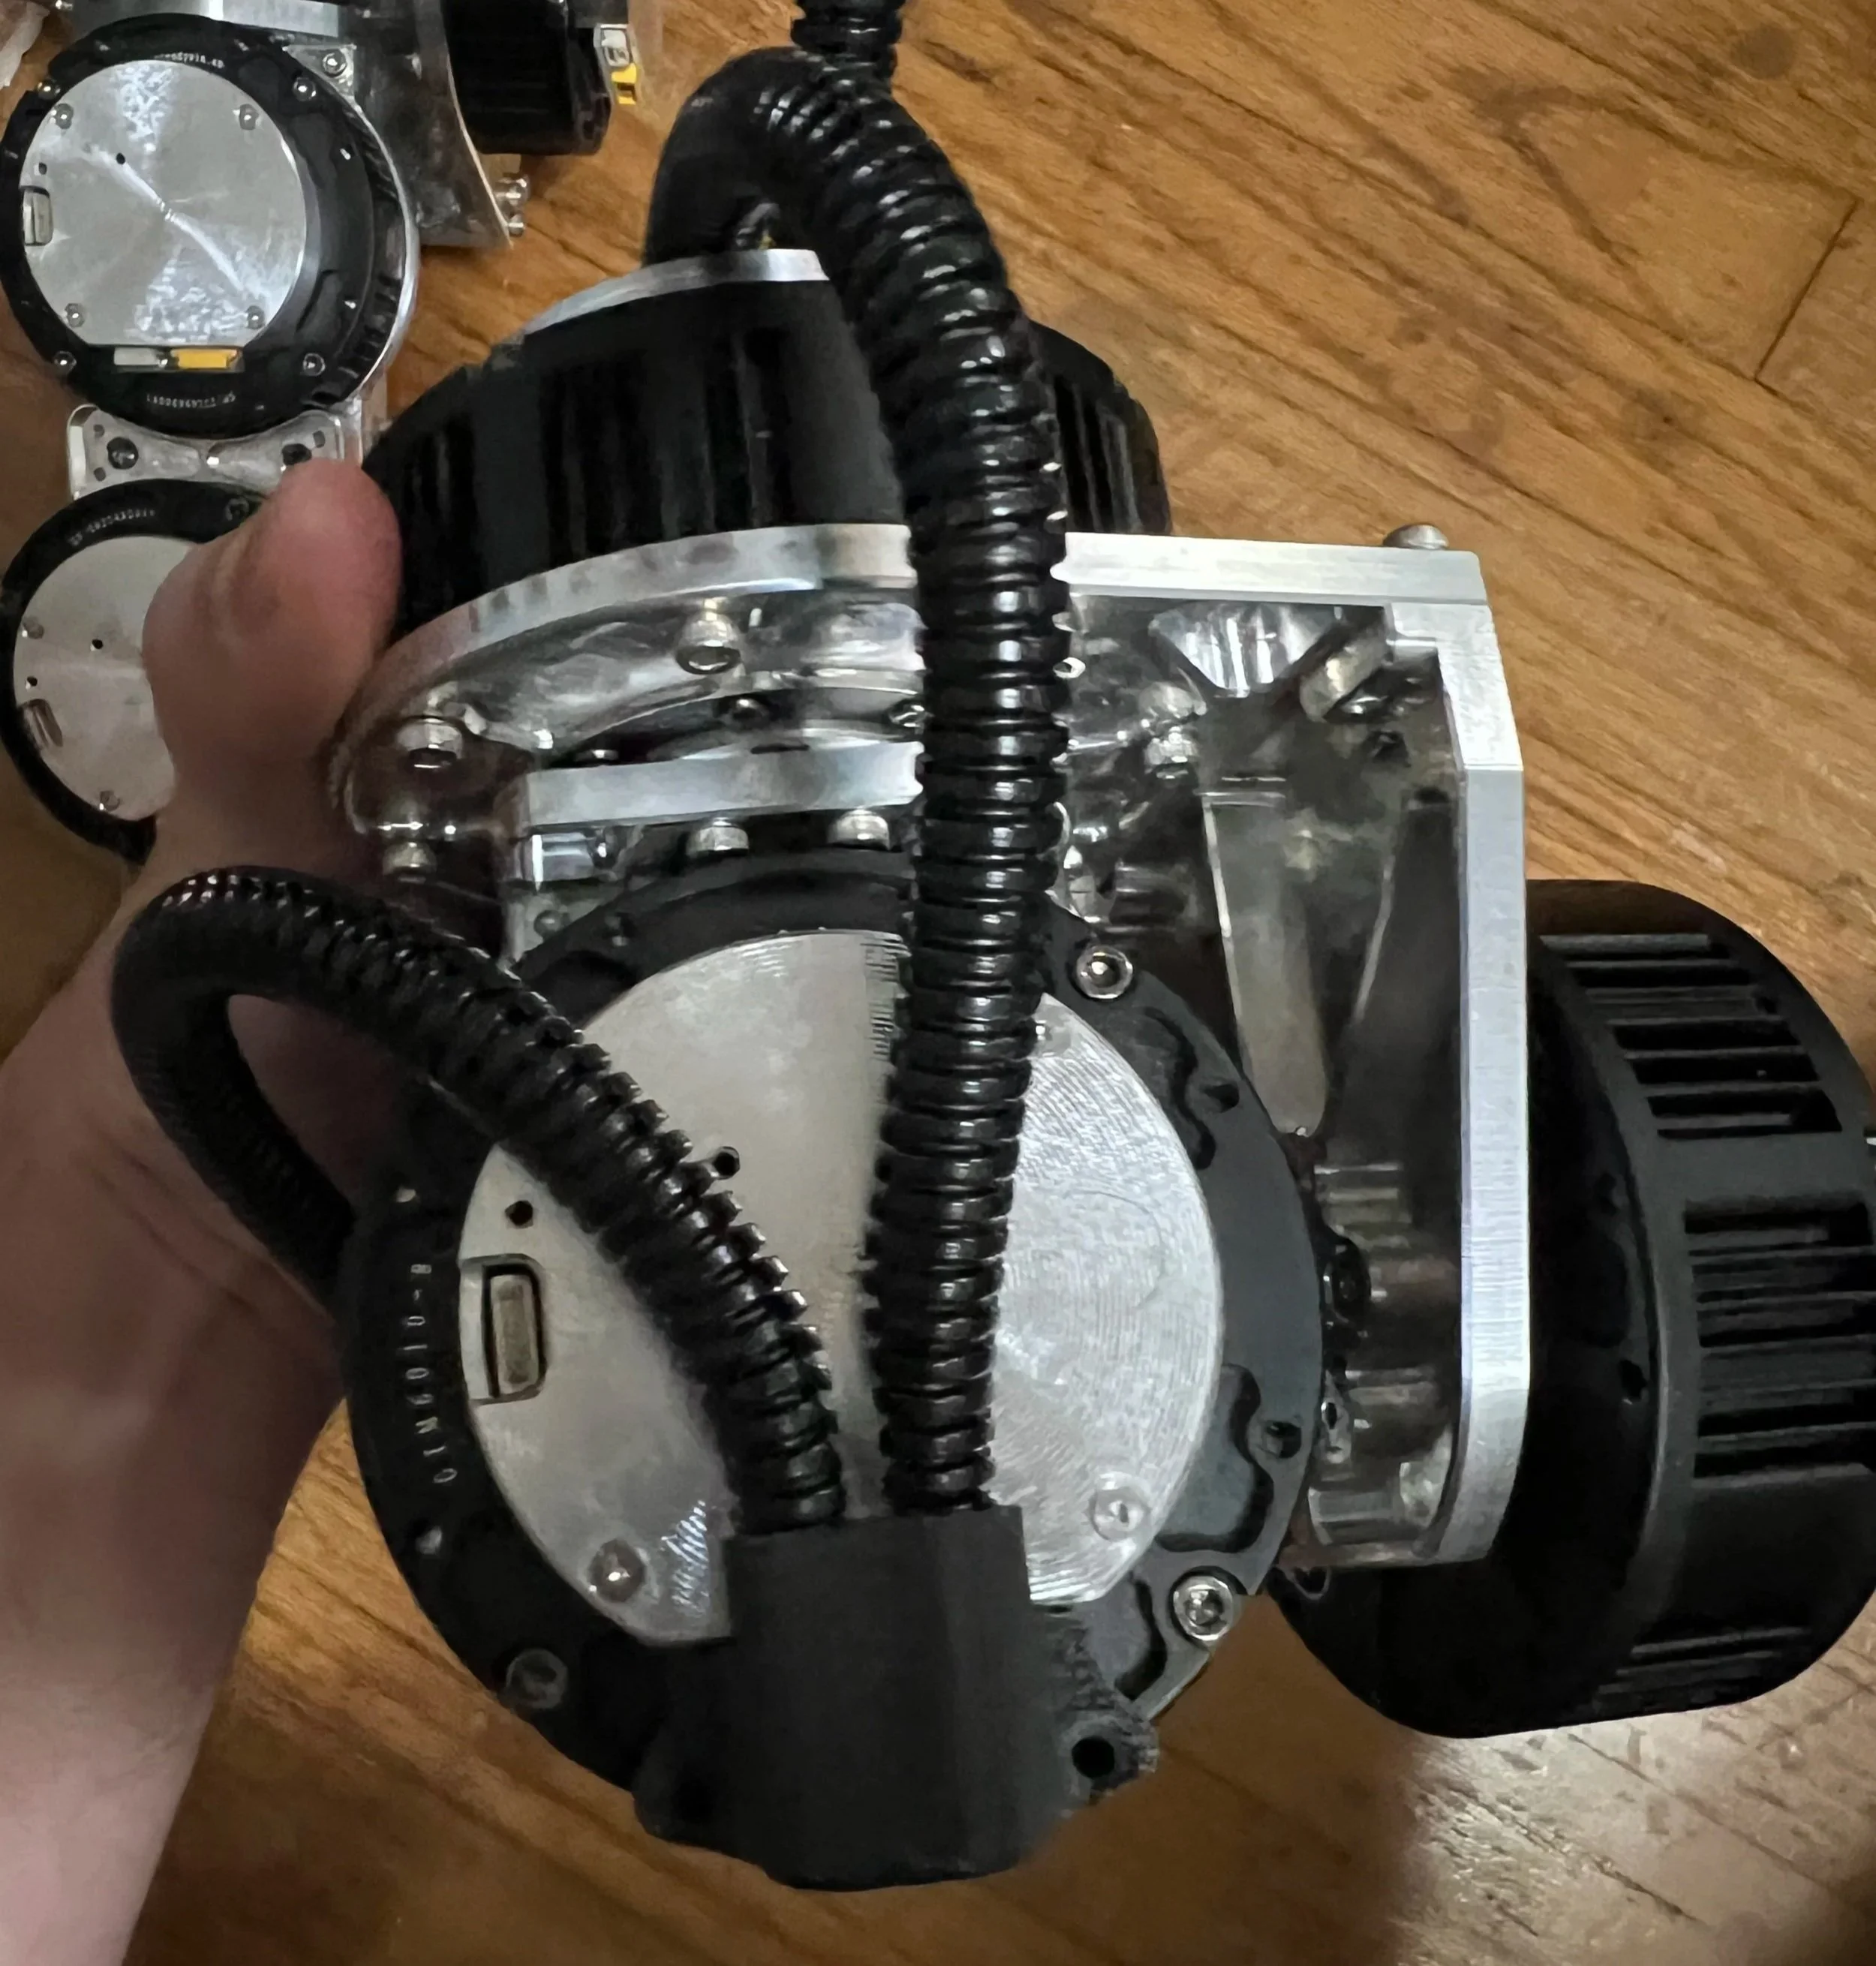
The knees are belt-driven, while the ankles use a linkage system, both to minimize leg inertia. I used a belt drive for the knees for two reasons. First, it provides additional reduction without requiring custom gears—important since the knees bear most of the load. Second, I wasn’t certain what range of motion I would need, and using two linkage joints (knee plus ankle) would have been more limiting.
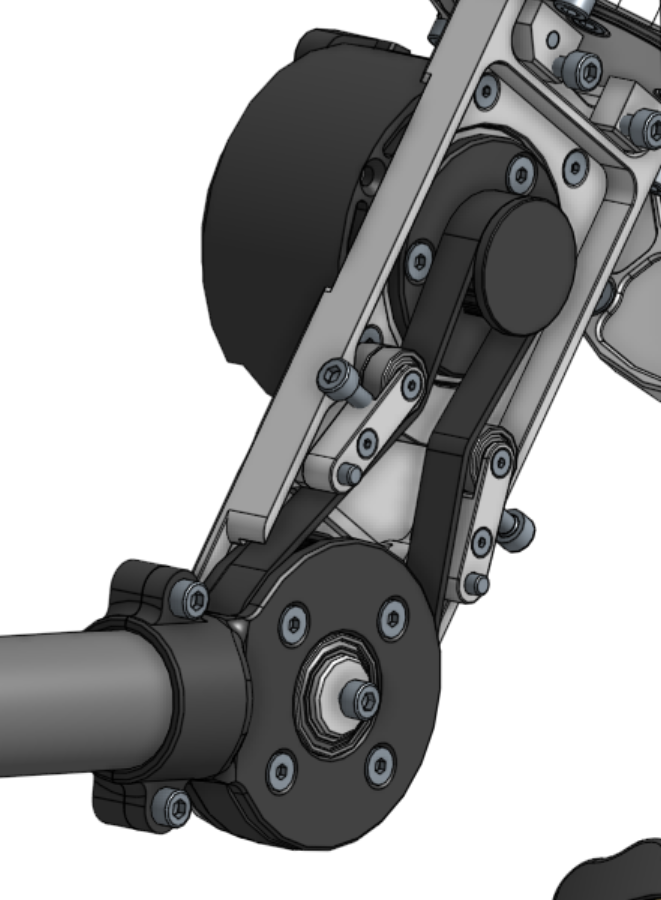
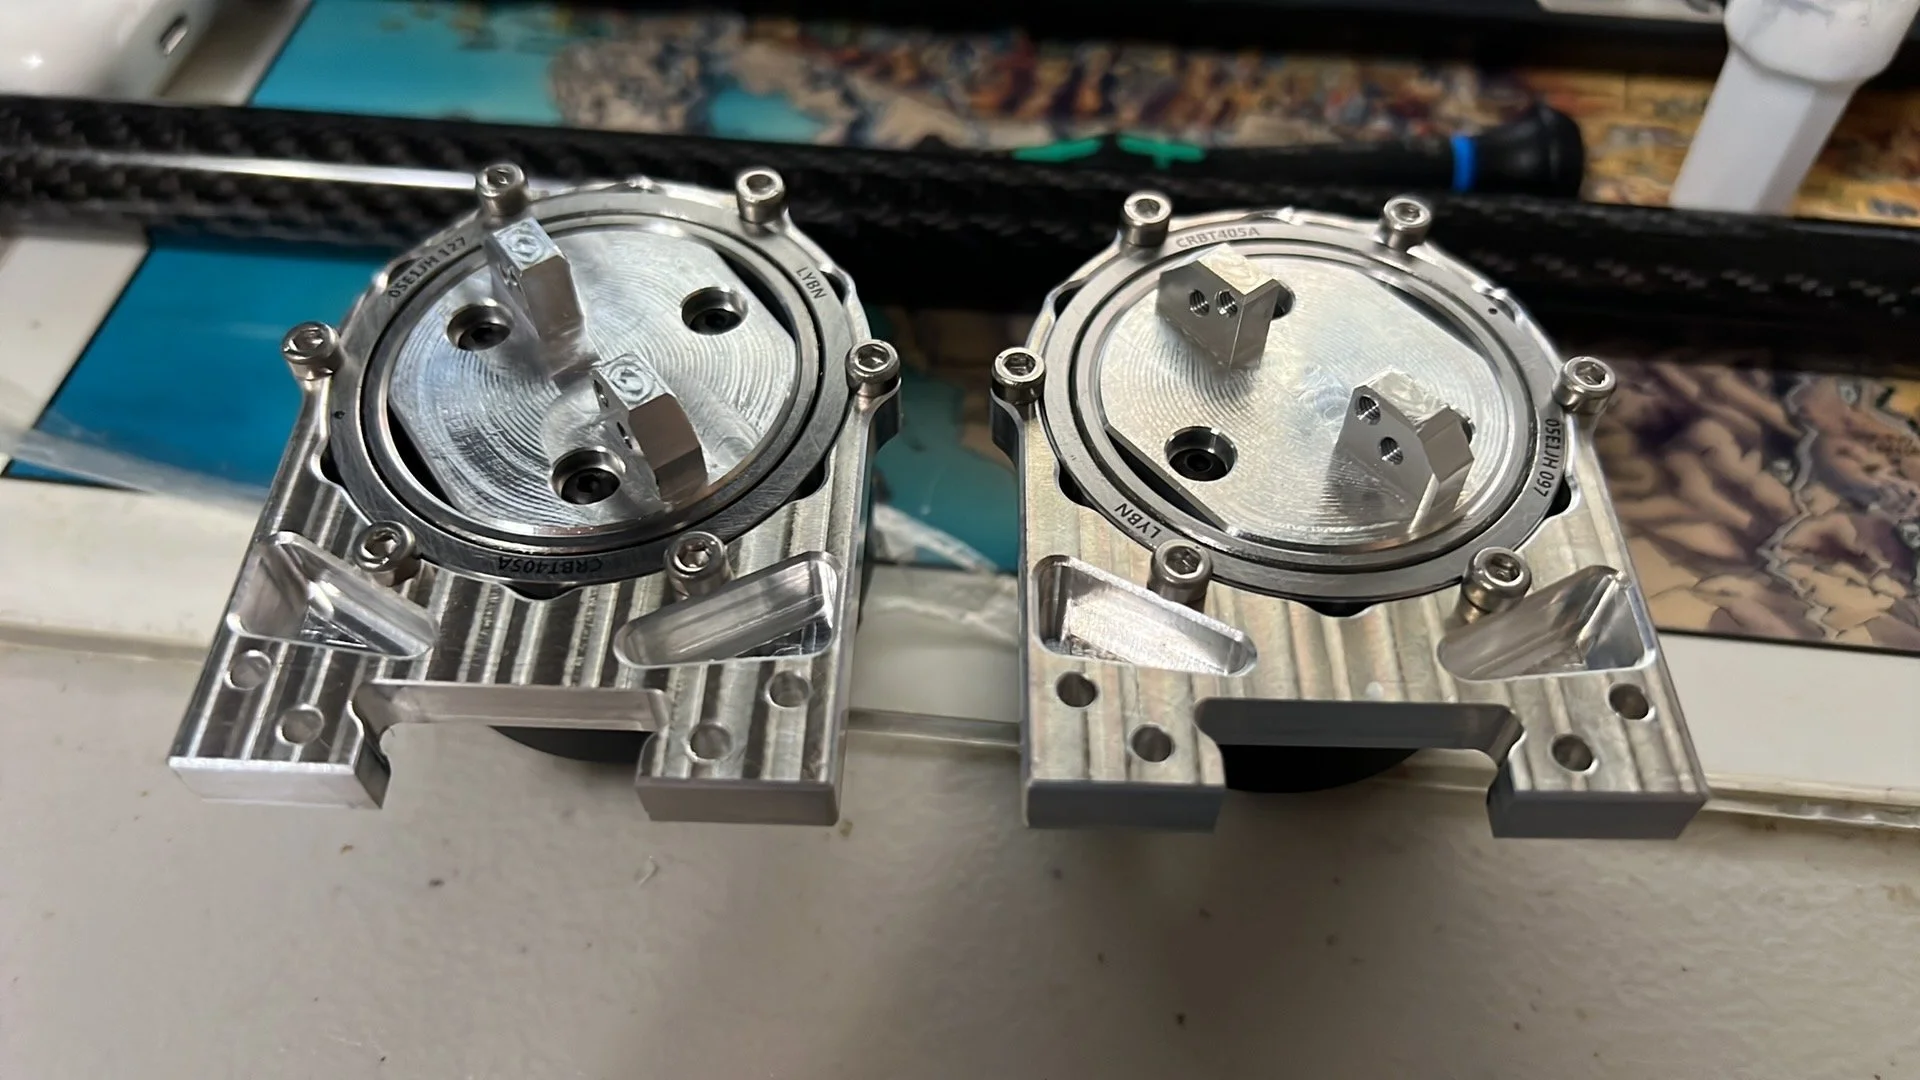
The arm is belt-driven for the same reasons as the knee: to reduce inertia and provide additional reduction. I was confident that the 4305 modules would be more than sufficient for arm yaw, but if I ever implement behaviors that require the robot to push itself up with its arms, I wanted the extra margin. Additionally, the output bearing on the 4305 isn’t very stiff, so I added an external crossed-roller bearing to support the arm yaw output, since the arm is directly driven by it.
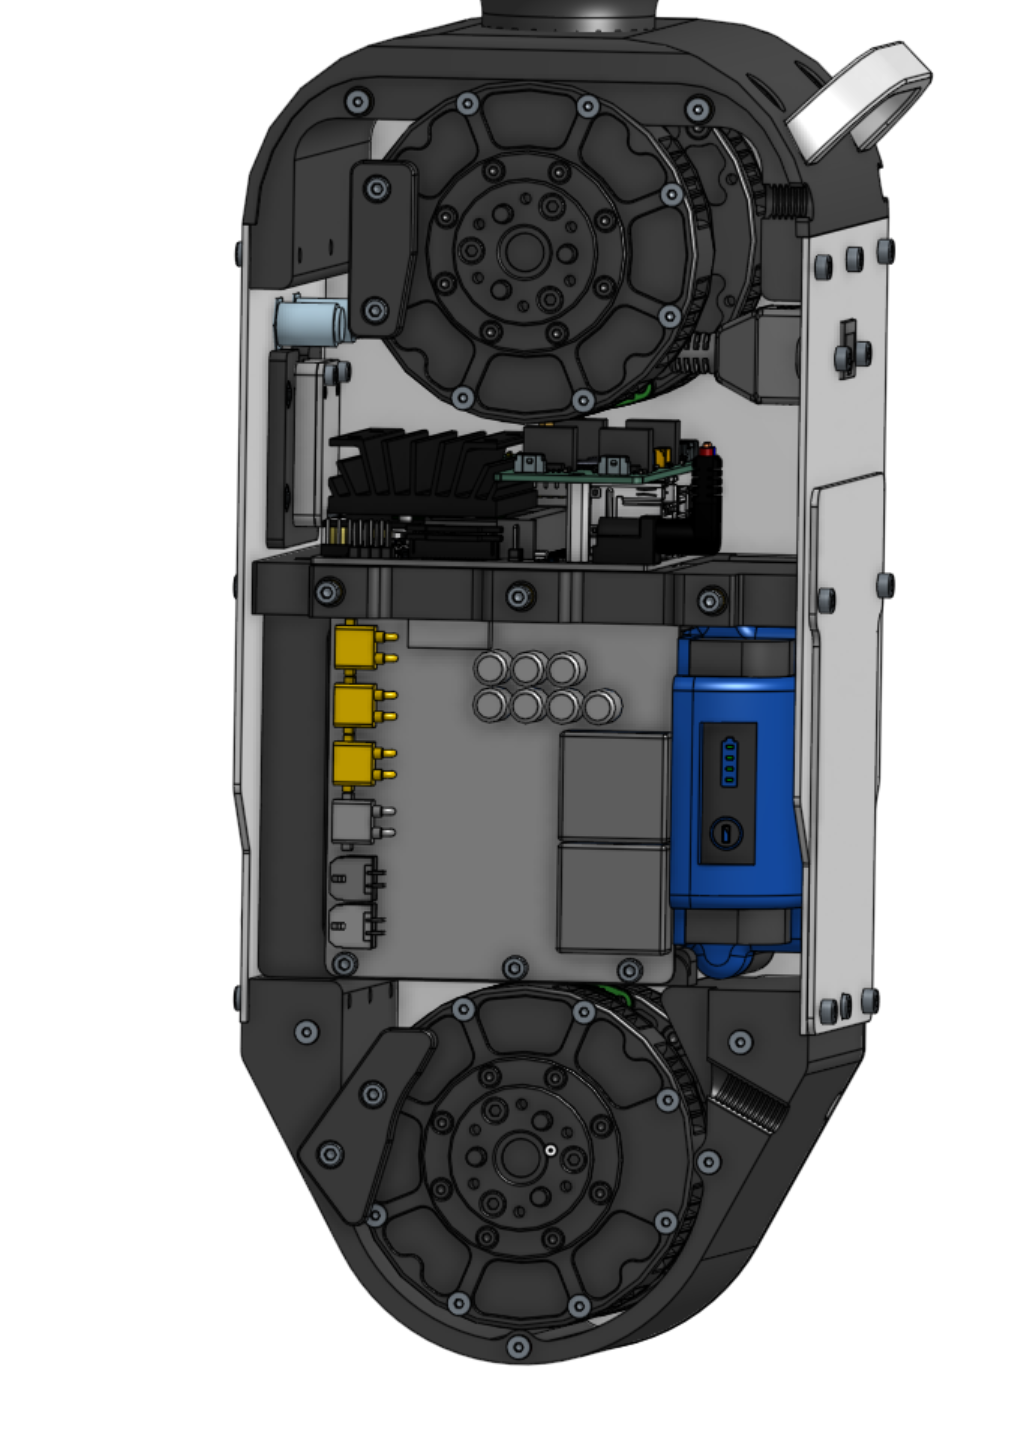
The robot’s internals are quite tightly packed to maintain reasonable proportions while keeping it small and lightweight.
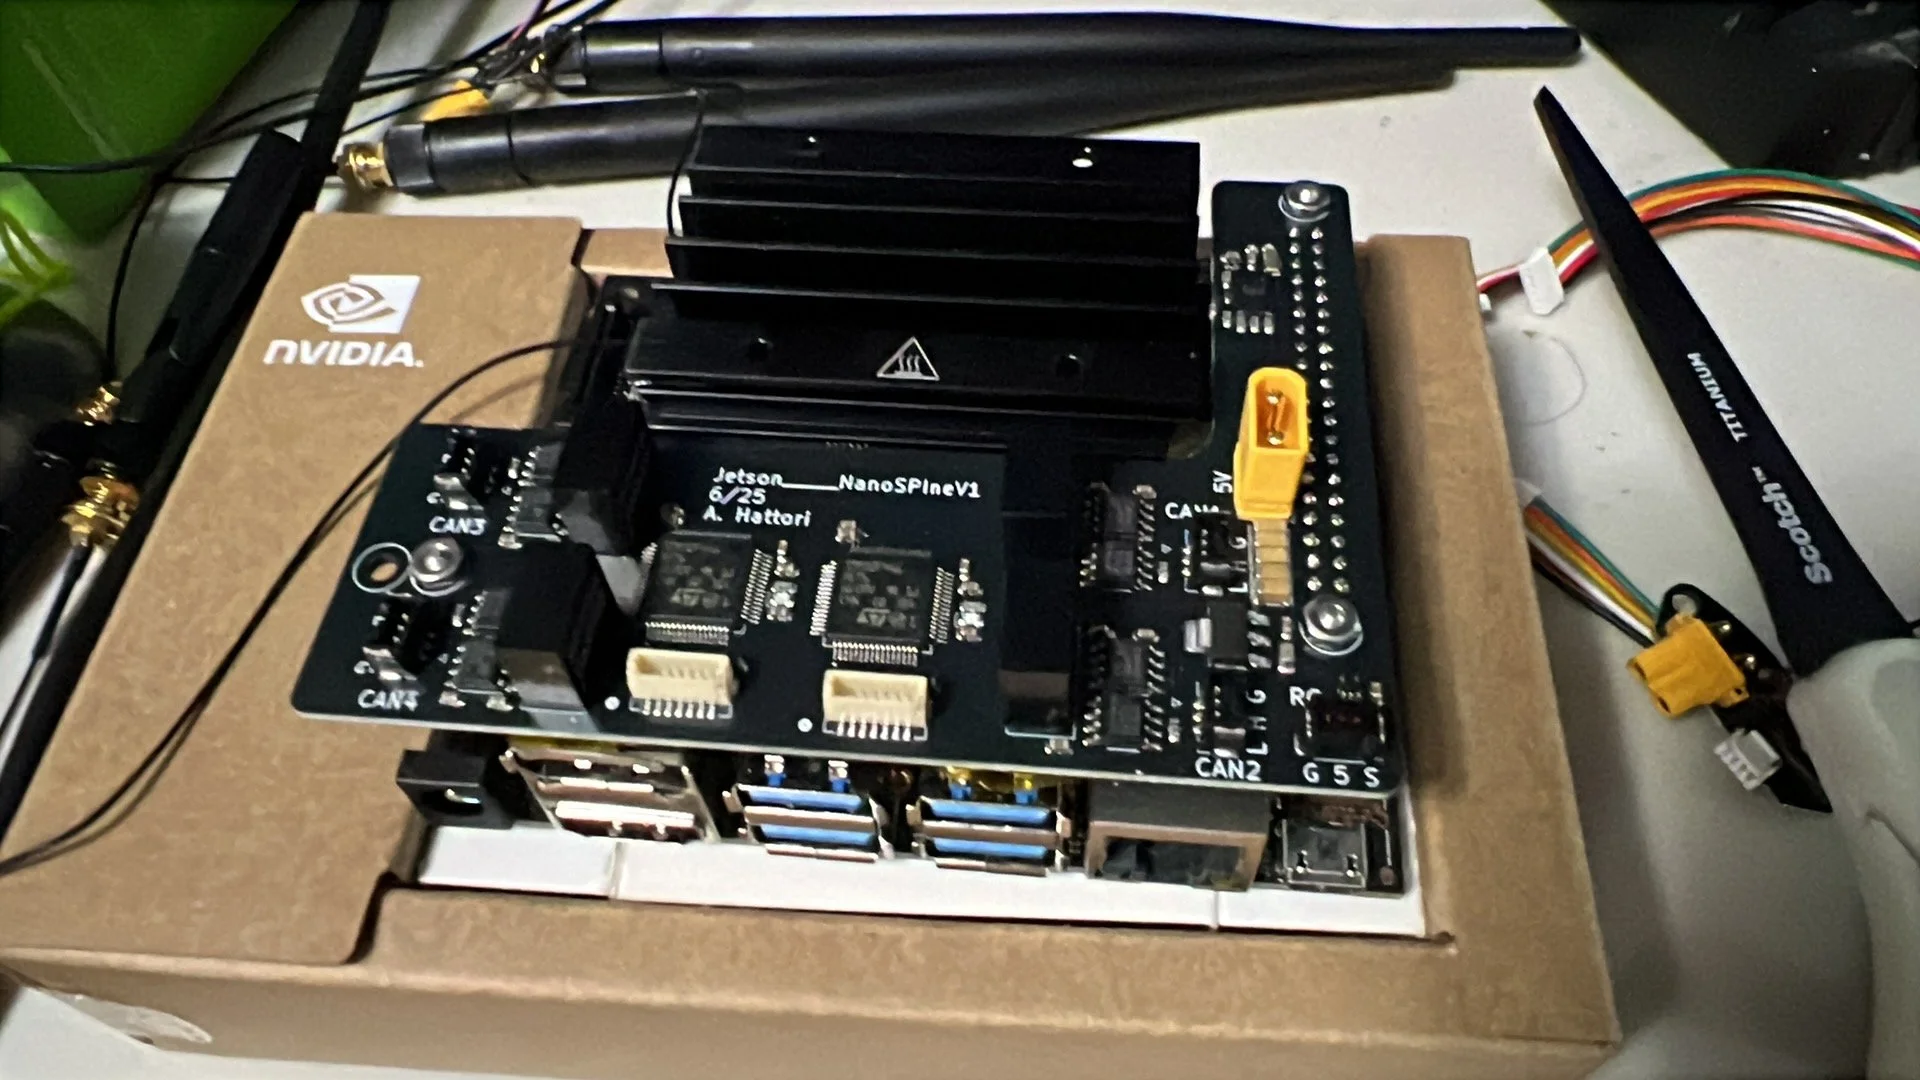
It runs on a 4 Ah Kobalt battery and, for the first time in my projects, uses a Jetson Nano.
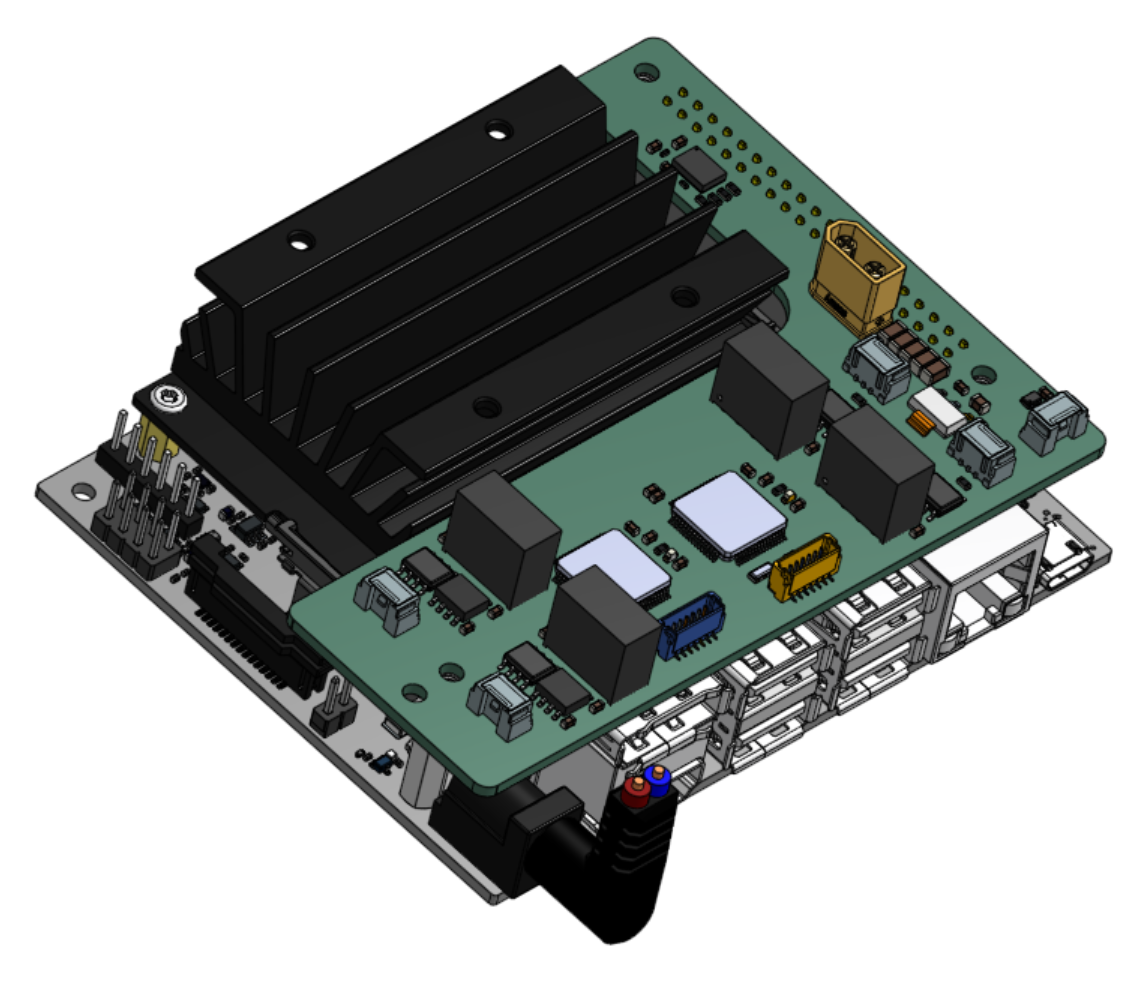
I designed a new SPIne for the Jetson Nano (it also fits on top of a Jetson Orin Nano). It includes a BNO086 for the IMU, but I ended up switching to a Microstrain IMU (3DM-CV7-AHRS), which is bolted directly to the chassis.
I paid particular attention to design for manufacturing (DFM) for this robot since I was making it myself and didn’t want to spend excessive time on my small mill or waste material. This approach mainly involved breaking down large parts into multiple smaller components to reduce machining time and material waste. Almost every part—except the knee link—is mirrored from one side to the other. There’s no 3D milling, and no part requires more than two operations, plus one extra for hole drilling, which I sometimes did using printed jigs and drill bushings.
With the design work complete, I ordered the new SPInes, started 3D printing some of the less critical body pieces, and began manufacturing the rest on my CNC mill.
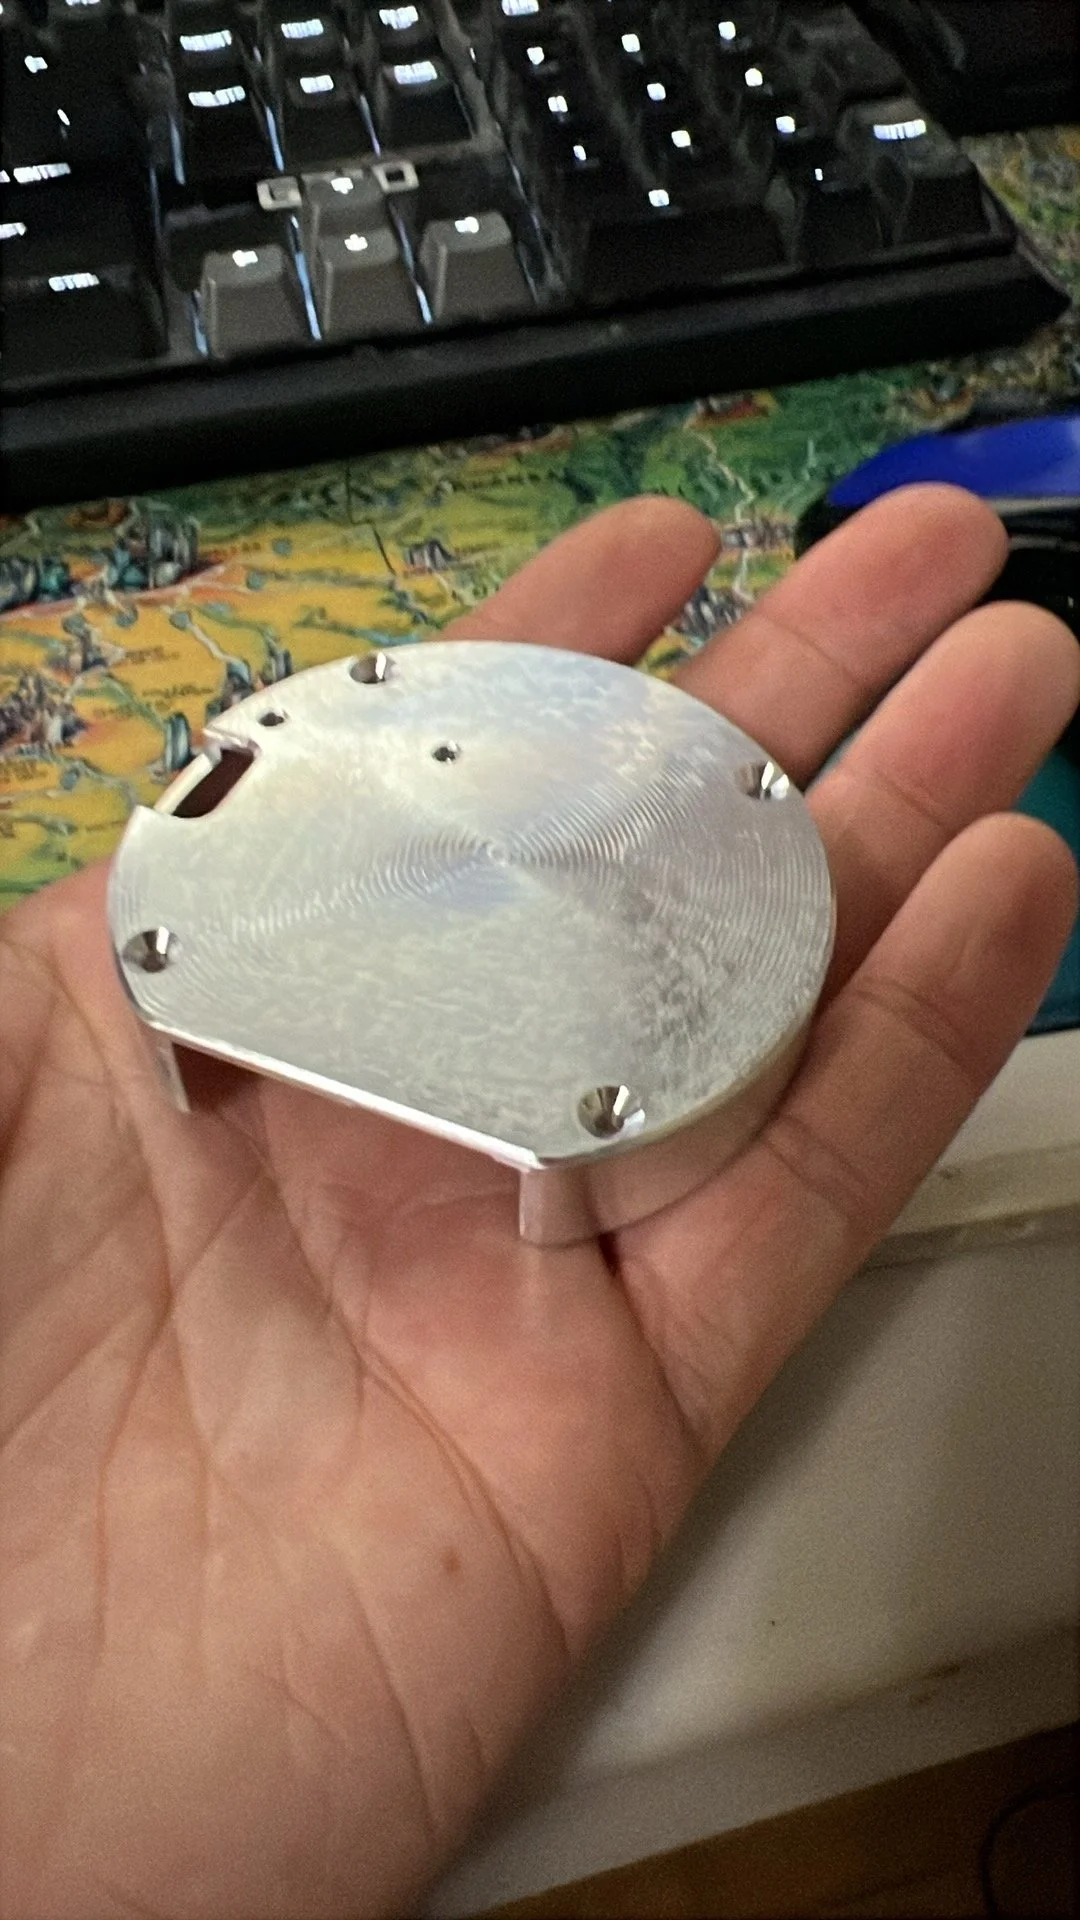
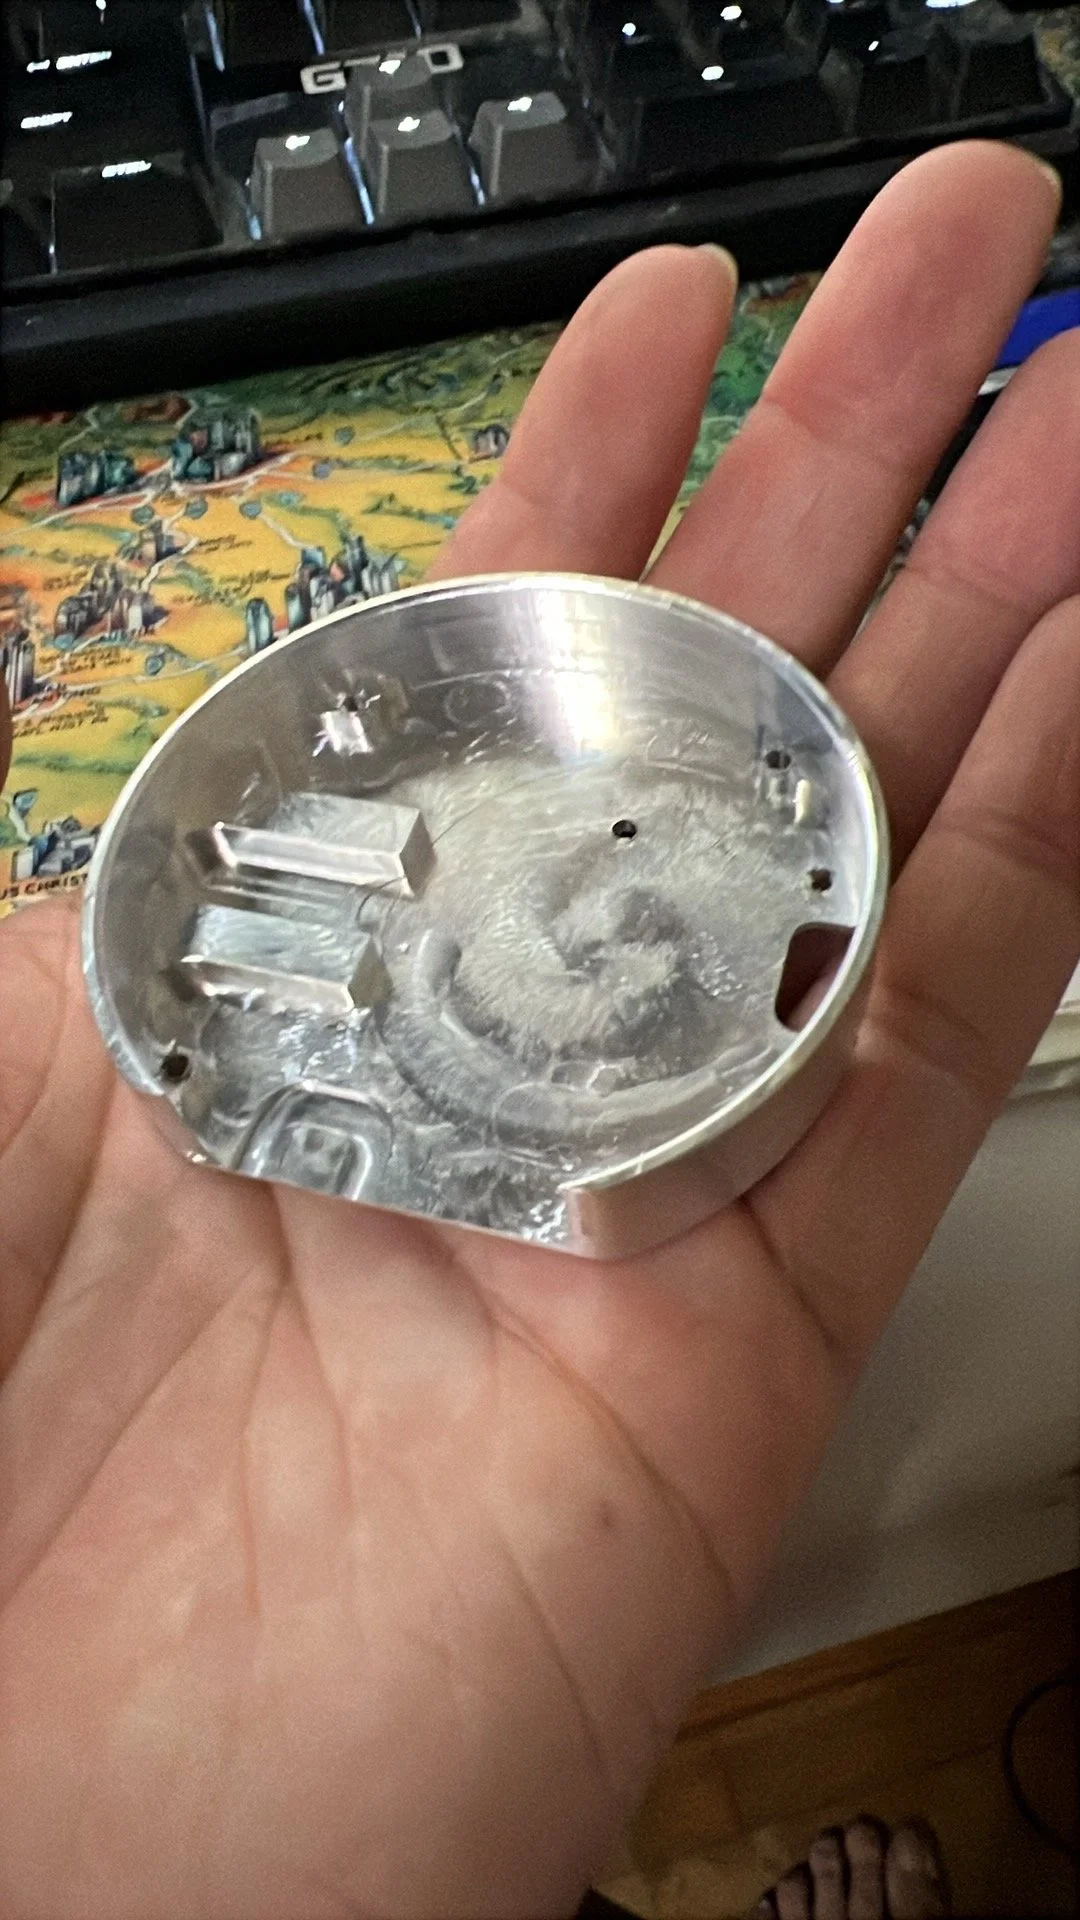
Some pictures of the process
This time, I tried some new fixturing techniques, like window machining and batch machining (really just patterned in the CAM), to produce some of the smallest and thinnest parts I’ve ever made.
A typical evening looked like this
While waiting for the new SPInes to arrive from JLC, I was still able to test using the old one, which was quite convenient.
Wiring-wise, it’s very similar to how I’ve wired all my other robots.
And just like that—about a month after starting the project—Goblin was born!
I didn’t want to cast any custom rubber feet, so it only seemed fitting to order some toddler shoes for him.

